So how did I do it you might be wondering. This post will recap that process.

This piece was definitely a learning curve for me because my main purpose was to be able to create something in front of a live audience. Now, I have been quilting for quite a number of years, created a lot of different tops that are sitting in a drawer, but I’ve never created anything “live” before. So, I had to think “out of my box”.
I created a small portable design board out of a piece of press wood and wrapped it with several layers of batting. The idea was to make a sturdy flat surface that I could press a hot iron on and it’s perfect! It also fits on a large canvas easel. This new setup allows for mobility and it doesn’t take up a whole wall in my house! Bonus!
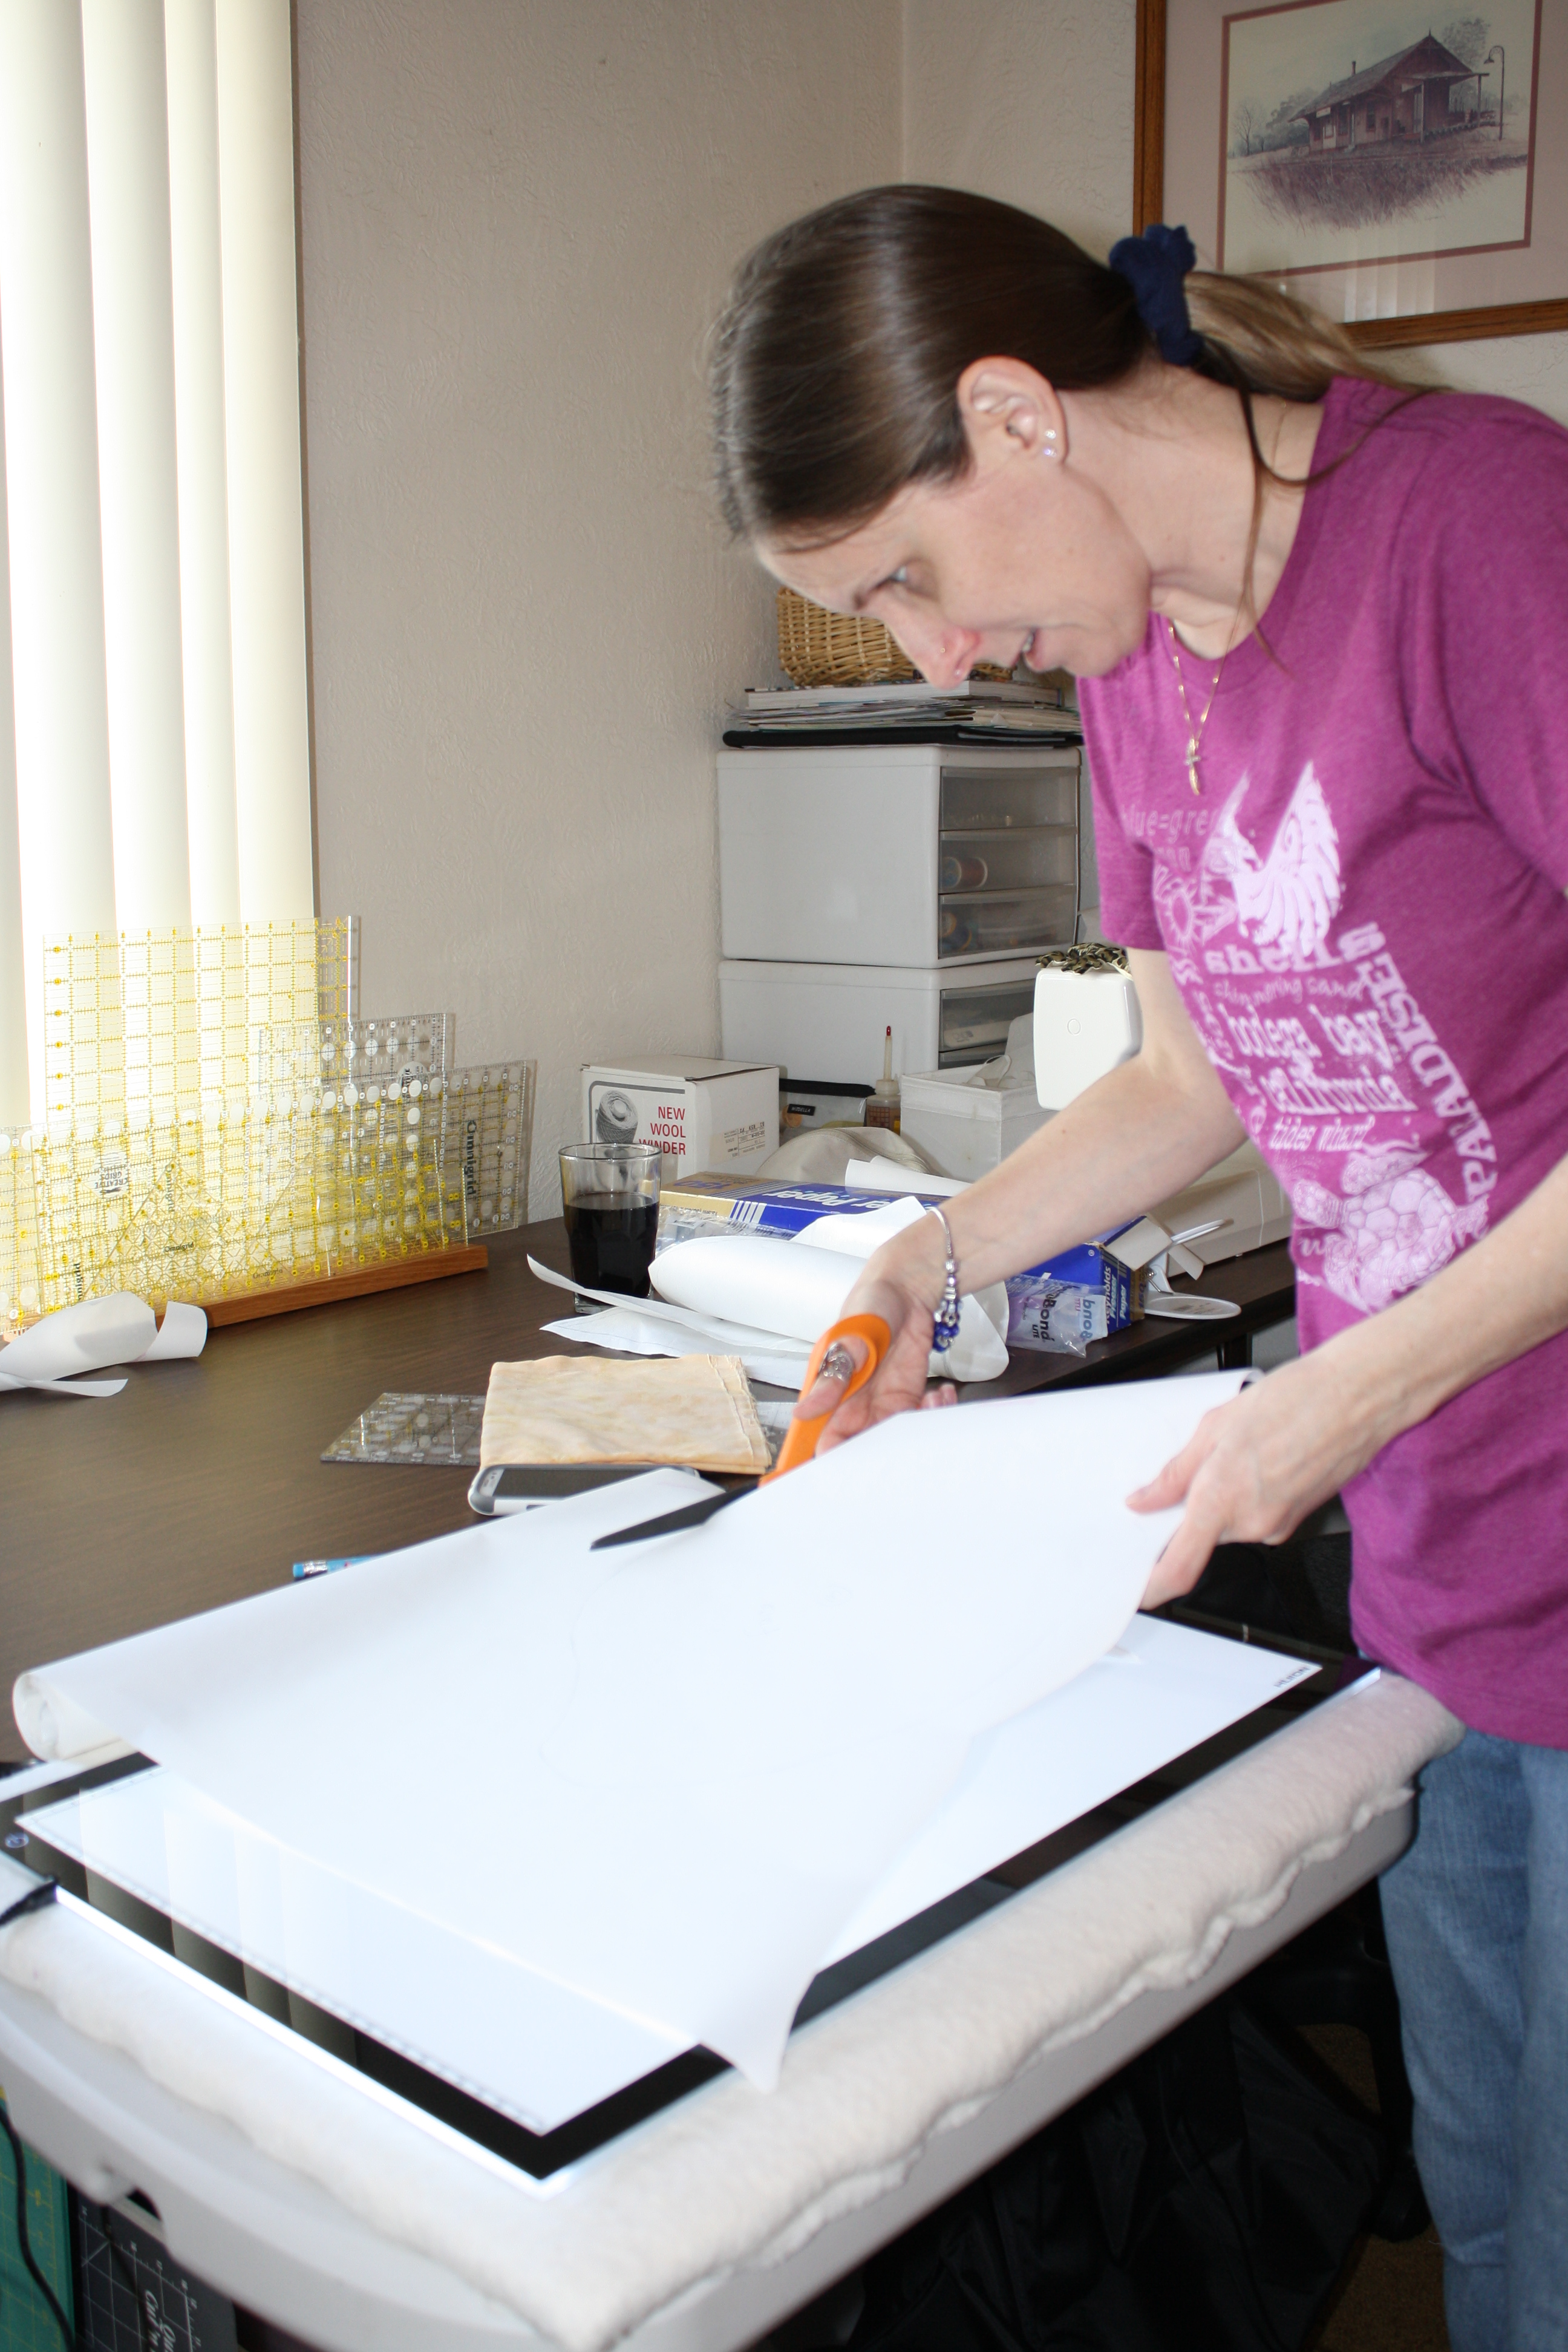
The next thing that I did was prep and p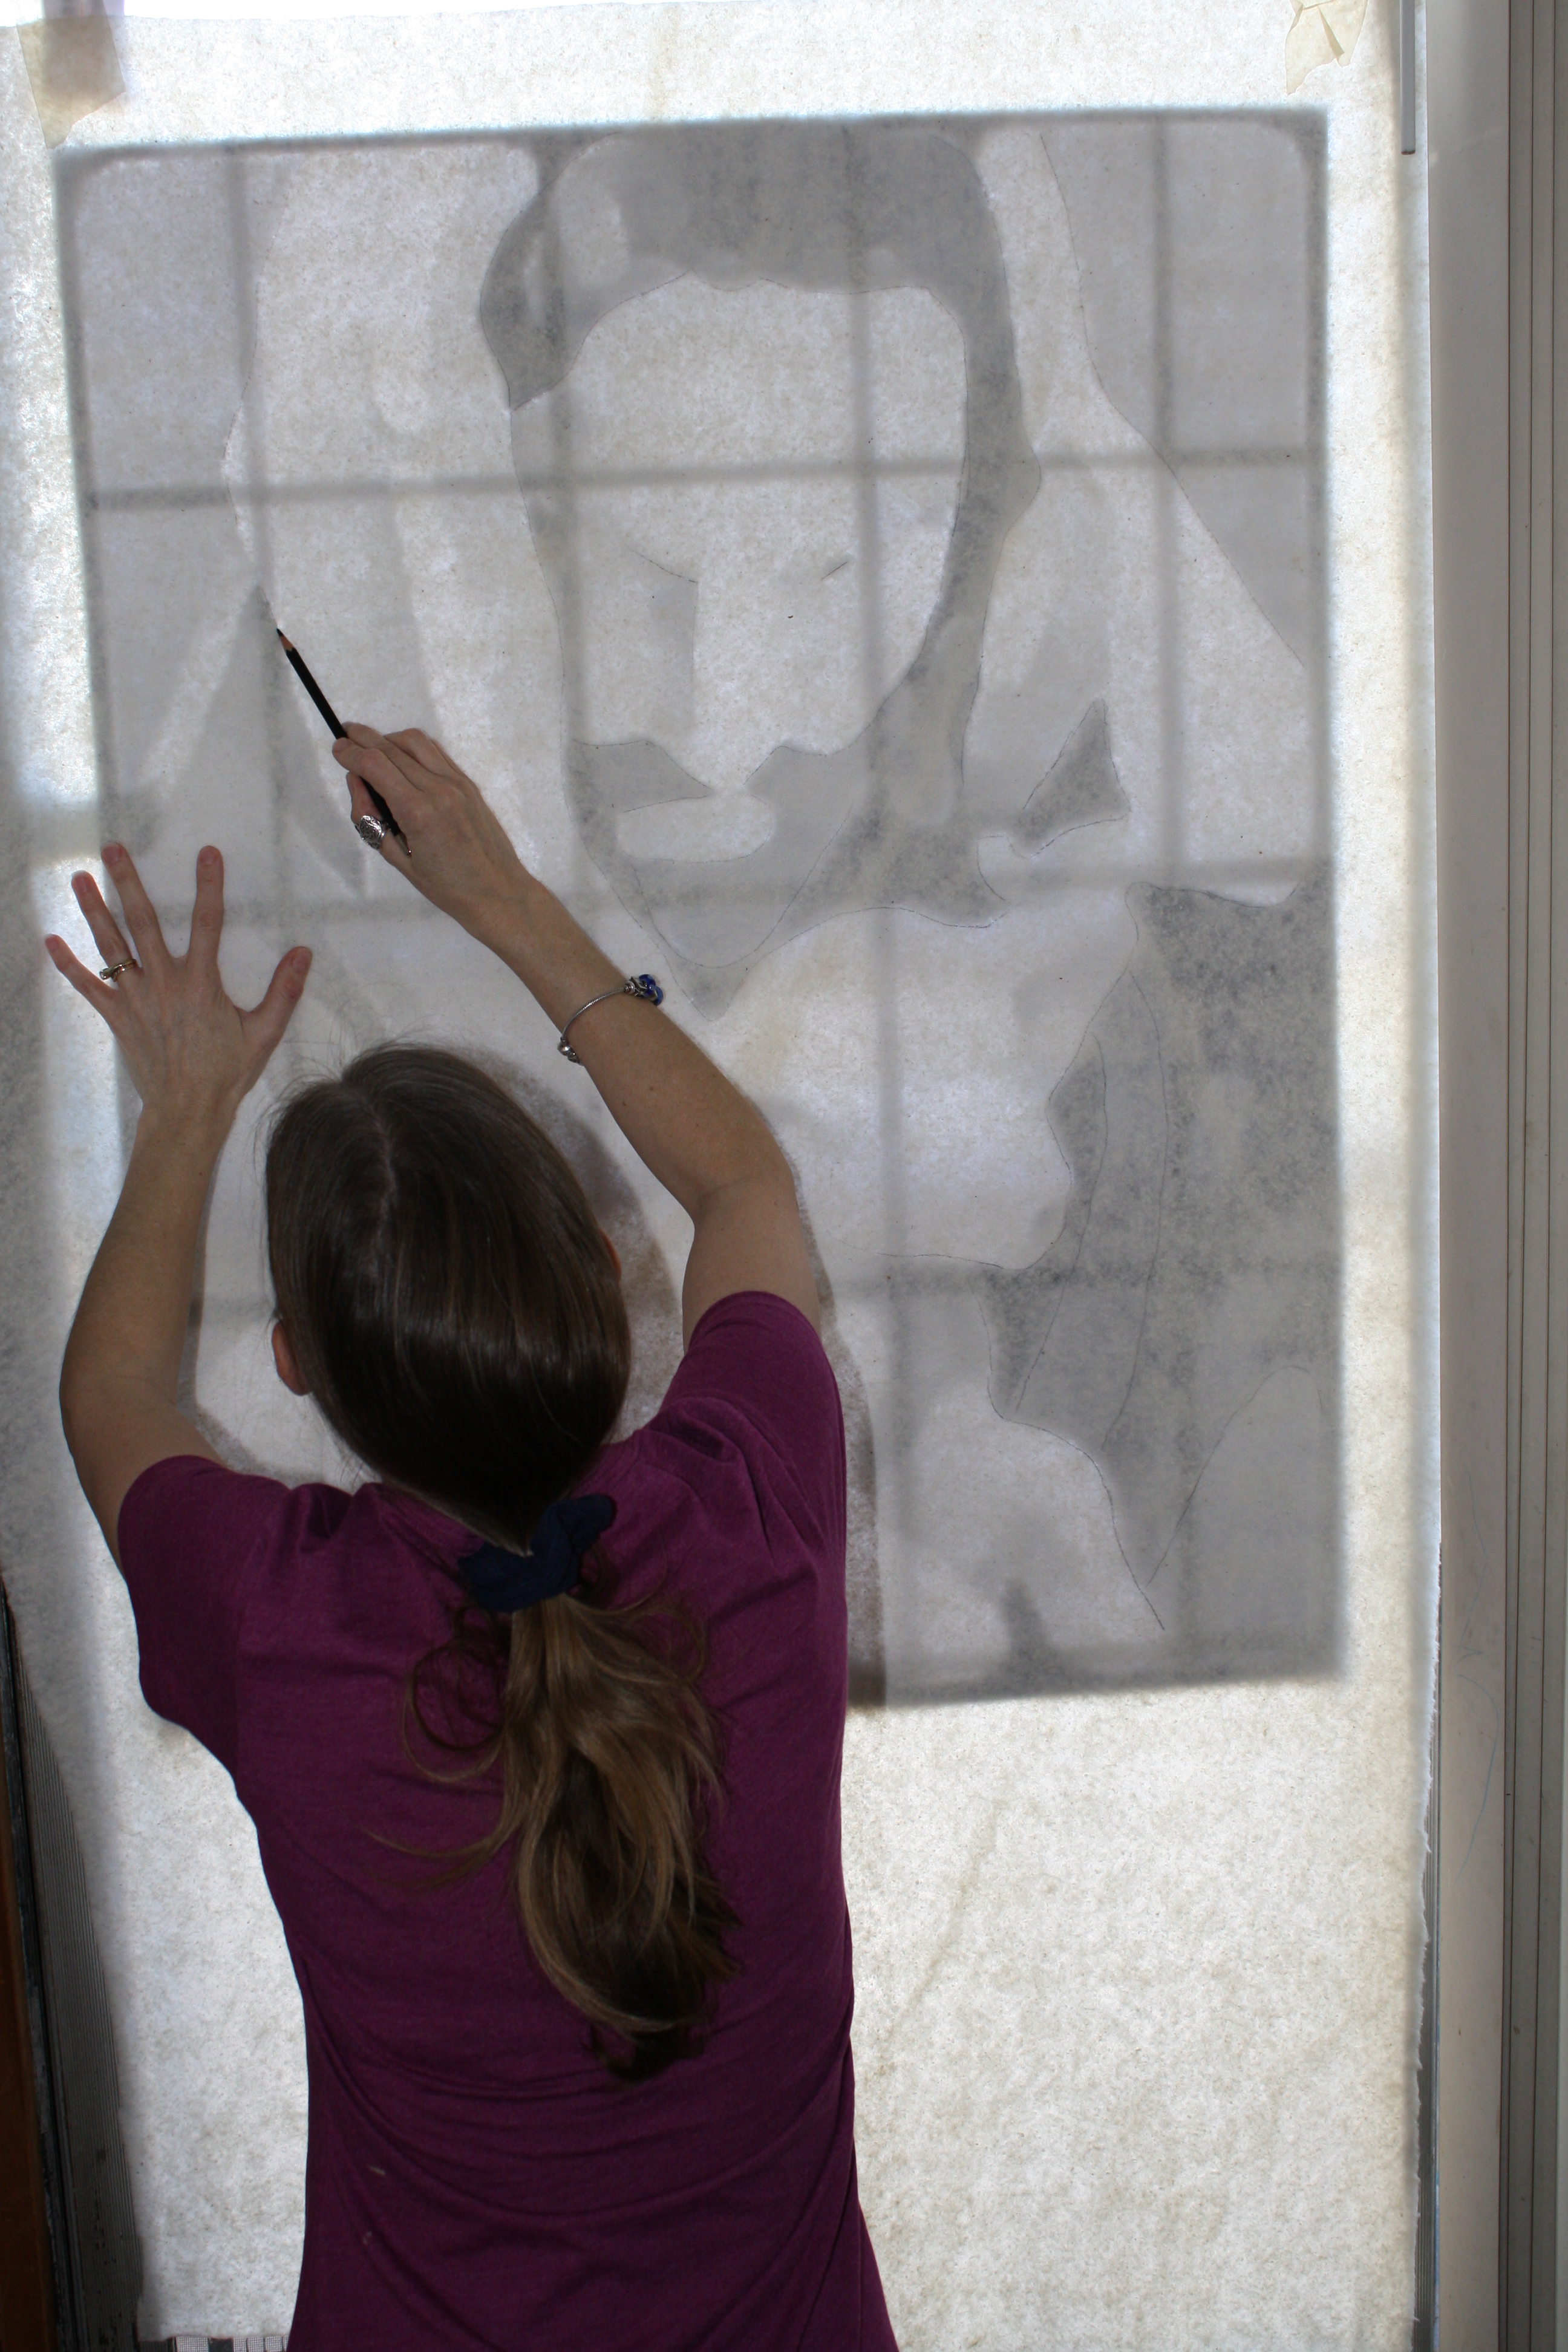 rint any reference material as any other artist would. I often like to find royalty free or public domain images or stain glass patterns that I can compile together and modify them in a photo graphic editor like Adobe Photoshop. I manipulate the images with different filters until I find a comfortable “template” I can work fabric with. (Filters like Paint Dubs, Mosaic or even Cartoon work best.) It’s not going to be perfect but it gives me a perception of depth, tone and shapes- the areas that pop out at you. Once I figure that out, I print a large poster size and tape it to a window. I trace pieces from this template.
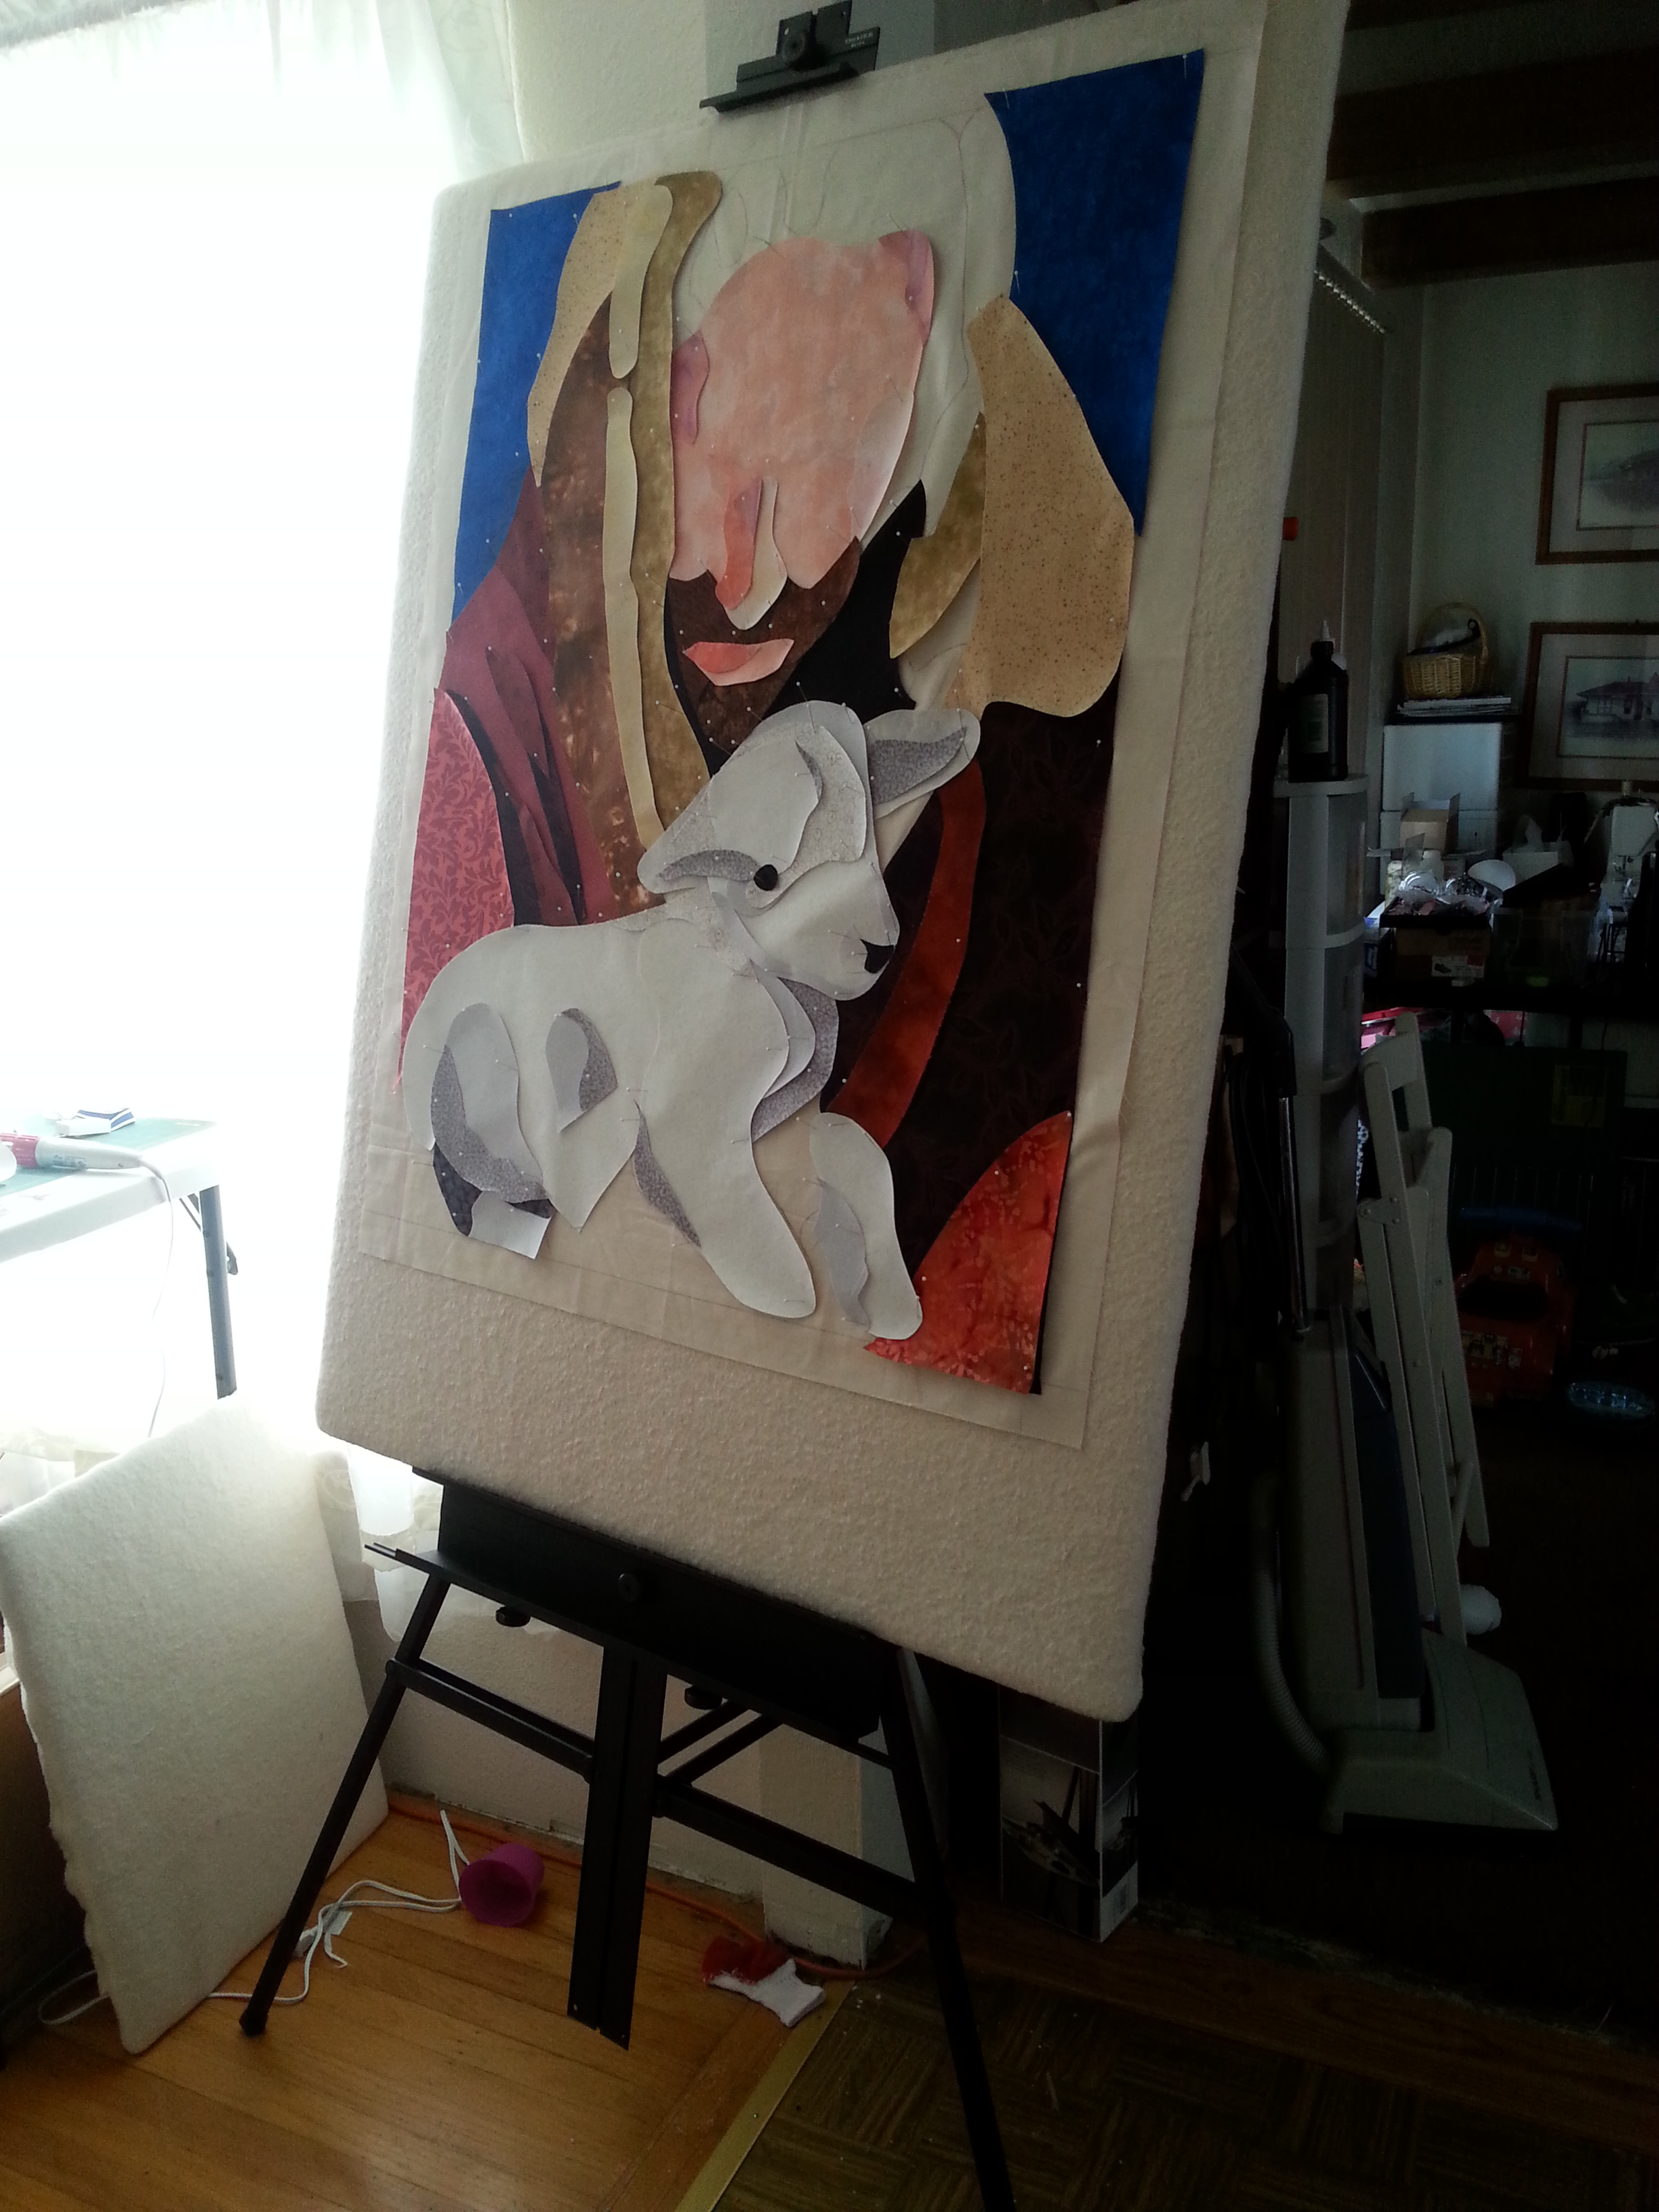
 In this piece, I used a single layer of muslin for my background that allowed all my pieces to adhere to because I was making this portable. Normally, I would only fuse onto any background fabric at the edges. I began with all the corners and I slowly worked my way around the piece adding pieces like a puzzle. I used a fusible web interface, in this case, Heat and Bond Lite, which is a sewable heat activated adhesive that provides a smooth edge-to-edge application for appliqués. It has a paper backing that I traced a reversed image of whatever piece I’m working. So, basically, I worked in a reverse image of the finished project.
This piece took about a month to complete simply because I worked sporadically, just a couple hours at a time; but all in all, it probably took about two weeks total.
Below are some time lapse photos as I worked the piece and some close up images of the quilted work. I hope you enjoy it as much as I loved creating it.
[Best_Wordpress_Gallery id=”7″ gal_title=”The Lost Lamb”]

1 thought on “The Process of “The Lost Lamb”; An Art Quilt by Emily Easley”